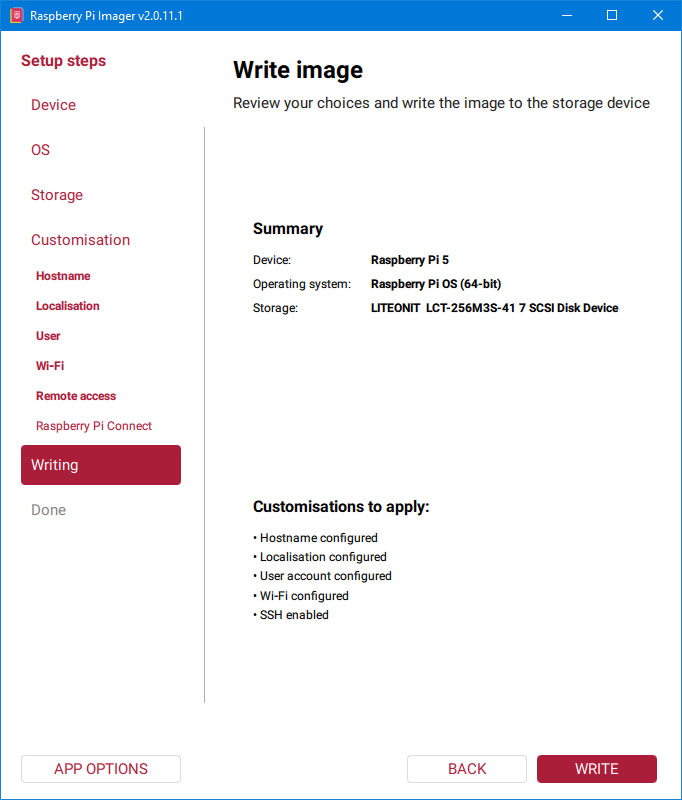
RASPBERRY PI 5 SUPER SERVER - MAKE A BOOT IMG SSD 128GB / 1 TB - USB 3.0 CASE OUTSIDE TO BOOT
Here is some information on how to create a boot image on an SSD for use with the Raspberry Pi 5. This allows you to bypass the SD card and utilize the speed of a USB 3.0 SSD for booting, resulting in high-speed performance for the OS, websites, FTP transfers, and other server functions.
You can always ask chatbots how to do this, but there are some hidden pitfalls—such as specific commands that need to be added to the SSD's boot partition—because some SSD enclosures cause booting issues.
However, chatbots are aware of this; I experimented a bit today and identified the solution: adding a single command to a specific file within the boot (FAT32) partition (which is visible in Windows). Using Notepad++, you can get everything working perfectly in just five minutes with an external USB 3.0 SSD enclosure and an SSD of any capacity.
I will post the relevant screenshots and full instructions on the site. Unlike USB 2.0, USB 3.0 is very fast; Linux even offers commands to measure read and write transfer speeds, which is quite interesting.